Sublimation Printing on Polyester Fabrics Guide
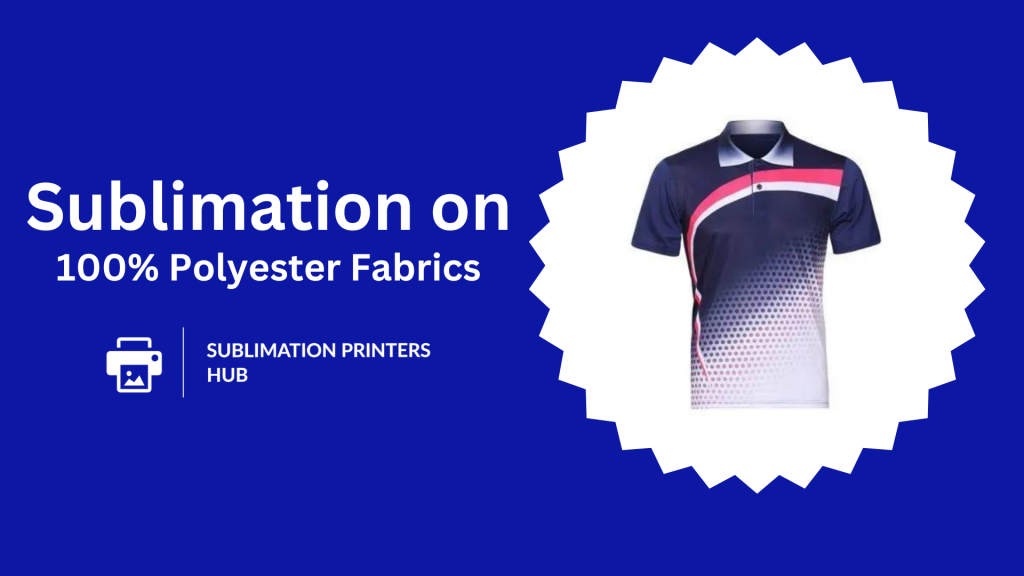
Sublimation printing allows you to produce full-color images on polyester textiles, mugs, phone covers, and other items. This detailed instruction will teach you all you need to know about how to sublimate on 100% polyester materials. 100% polyester cloth is one of the most common sublimation materials. However, perfect outcomes necessitate the use of the proper approaches.
We’ll go over the preliminary processes, such as pretreating and cutting the fabric. You will discover the best fabric profiles for outstanding sublimated prints. We’ll also go over how to load the polyester in your sublimation printer to ensure accurate prints.
Finally, you’ll learn how to heat-press the fabric immediately after printing for brilliant, long-lasting colors.
Overview
Sublimation is a digital printing technique that use heat to infuse specially prepared sublimation inks into polymers imbedded in various substrates.
100% polyester fabric has the polymers needed to make a chemical bond with the dispersion colors used in sublimation ink.
The dispersion dyes transform into a gas when you print the fabric with a high-heat sublimation printer and then apply heat and pressure with a heat press.
The gaseous dyes permeate the polyester, solidifying again when it cools and producing a permanent molecular link.
The rich colors and details do not fade with time or wear because the ink changes and embeds so deeply during sublimation.
The resulting product is as long-lasting and soft as the original fabric. Sublimation on 100% polyester allows you to produce spectacular all-fabric images for sports jerseys, fashion wear, soft signage, and other applications.
Key Steps For Sublimating on 100% Polyester Fabric:
The following is a summary of the essential steps covered in this guide for successfully sublimating on polyester fabric:
1. Select and prepare 100 percent polyester fabric
2. Make and modify a sublimation design file
3. Use a sublimation printer to print the design image.
4. Cut the fabric to the size required for the design.
5. Warm up the heat press
6. Heat press the fabric immediately after printing.
Let’s go over each step in detail now.
1) Selection and Preparation of 100% Polyester Fabric
The first step is to choose a suitable polyester fabric and prepare it for sublimation printing.
When selecting the correct polyester, there are a few aspects to consider:
Fabric Information
Ensure that the cloth is 100% polyester. Cotton and other fiber blends will not sublimate correctly. Check the fabric tag or product information to ensure it is entirely made of polyester.
Weight of Fabric
A 4.5-6 oz weight is appropriate for wearing clothes such as t-shirts. This gives a luxury feel while remaining soft and flexible enough for comfortable apparel. Lighter weights of 2 oz or less can be used for ornamental fabrics.
Weave Fabric
For t-shirts, go with a comfy jersey-knit weave. Twill weaves sublimate well as well. Avoid particularly thick or porous open weaves, as they will not absorb as evenly.
Fabric Color
Light 100% polyester textiles exhibit the most brilliant sublimated colors. When possible, avoid black or dark-colored fabrics since they reduce brightness and vibrancy.
Pretreat the material to prepare it for absorbing sublimation ink after selecting the suitable 100% polyester:
Clean Fabric
Machine wash the polyester in hot water on the gentle cycle. As dye or softener residue may interfere with ink adhesion, use a dye-free detergent without fabric softener.
Fabric for Heat Pressing
After washing and drying the cloth, apply strong pressure across the surface with a heat press. This smoothes the fabric and allows for crisp ink application.
Allow the fabric to completely cool
Allow the fabric to sit until it returns to room temperature before printing.
The 100% polyester is now ready for sublimation printing after being prepared and stabilized.
can you use a regular printer for sublimation?
2) Sublimation Design File Creation and Modification
After pre-treating the cloth, generate or acquire the picture you wish to sublimate onto the polyester. Some best practices for file preparation:
Image Format and Size
Use a high-resolution vector artwork or photo file that corresponds to the print dimensions. For the best clarity, set the resolution to at least 300dpi.
Color Profiles for Printing
Select the ICC color profile for the sublimation printer and the polyester fabric to be used in design software. This improves print quality.
Color Changes
Because printed colors will fade slightly during heat infusion, increase brightness and contrast slightly. Over adjustment, on the other hand, risks losing brightness or blowing out detail.
Adjustments to Ink Volume
Many design software packages allow you to change the ink levels on a custom profile. Reduce ink volume slightly if necessary to avoid bleed or ghosting.
Tweaking the file before printing provides you the best chance of getting colorful and accurate results.
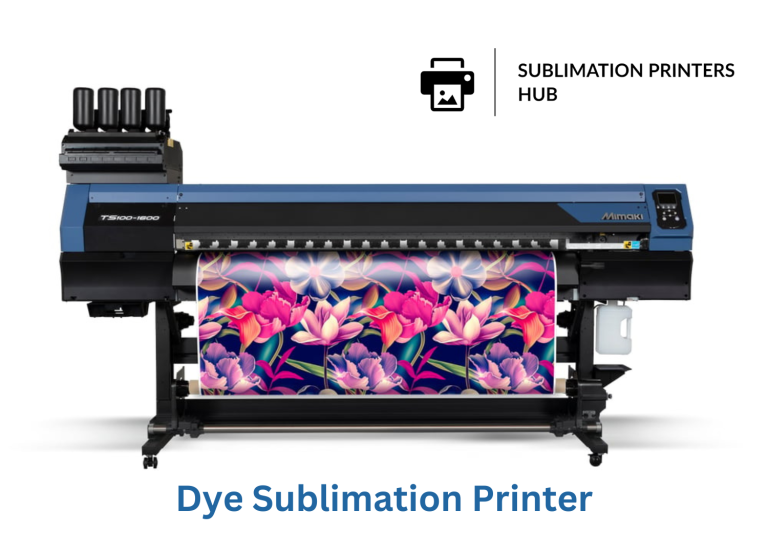
How much is a sublimation printer?
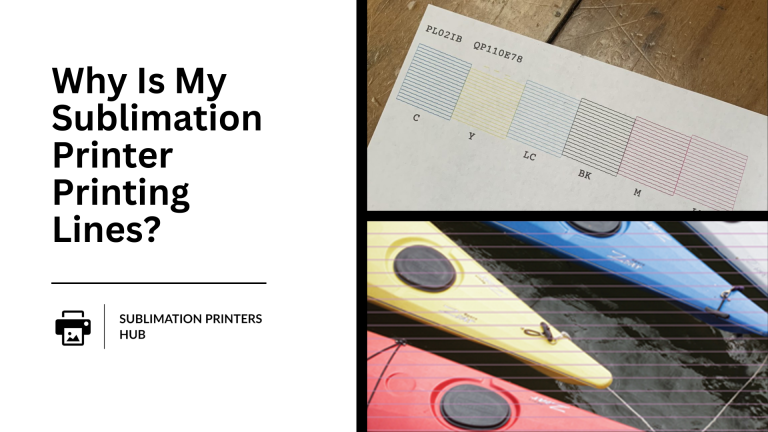
Why my sublimation printer printing lines?
3) Design Printing on Polyester Fabric
After you’ve optimized the design file, print it on prepared polyester with a professional sublimation printer. Here are some helpful hints for this step:
Make Use of High-Release Paper
To minimize sticking or jamming, put polyester fabric on high-release sublimation paper before feeding it into the printer. After printing, the paper will separate from the fabric.
Maintain a Clean Print Area
Before printing onto polyester fabric, make sure the interior of the printer is free of dust, lint, or particles. Debris could spread and obstruct design.
Carefully load fabric
Fabric is more difficult to feed evenly than paper. Take your time aligning it to avoid skewing, moving, or wrinkling during printing.
Utilize Proper Printer Settings
To optimize for polyester material, enter the relevant media type, fabric profile, and print quality settings into the RIP or dialog box.
Print the entire design all at once
Unlike paper, you probably won’t be able to pass fabric through the printer several times without problems with alignment. For the best accuracy, print the entire design in one pass.
Verify Color and Alignment
Examine the first print carefully. If this is okay, print the remaining quantity required. If banding, bleeding, or distortion occur, troubleshoot the printer and modify the file before completing the operation.
After the pattern has successfully printed, proceed to the last preparation stages before sublimating ink onto fabric.
Sublimation Printing Tutorials
4) Fabric Cutting to Desired Size
Typically, the design will be printed smaller than the entire dimensions of the fabric. After inspecting the printed fabric and ensuring that the ink coverage appears accurate:
Cut the fabric to the finished size
Trim the fabric to the required end-size for the project, removing any unprinted excess edges. Allow at least a half-inch border around the print.
Sublimation Vs Screen Printing
Check the edges and shape
Look for stray threads, uneven cutting, or sharp corners. Trim down further or smooth up edges for a neat finished product.
Now that the printed cloth has been trimmed, it is ready for heat application.
5) Sublimation Heat Press Preheating
Use a sublimation-specific heat press to permanently infuse printed ink into polyester. The proper duration, temperature, and pressure levels allow full-color transfer without scorching or melting the fabric.
The following are the essential procedures for preparing a heat press:
Preheat oven to 400°F
Most polyesters sublimate best at temperatures about 400°F. Check your fabric specifications to determine whether a different temperature is required.
Middle Pressure
Setting the pressure too high risks harming the cloth, while setting it too low will not adequately bond the inks. Medium force ensures ink infusion while not crushing the fabric.
Warm the plates for one minute
This equalizes the heat press temperature and guarantees that the fabric achieves 400° instantaneously across its surface. Ink transfer is spotty due to uneven heating.
Bottom Plate Cover
By using silicone/thermal paper, direct contact between hot metal plates and polyester is reduced. This decreases the likelihood of shine or melting caused by direct high heat.
With preheated and shielded plates, the heat press is ready for quick fabric application.
6) Heat Pressing Immediately Following Printing
Right after printing, the ink must be heat transfused while still wet on the fabric. If you wait too long, the colors may change or fade unevenly.
Use these tips to work swiftly and properly during the sublimation transfer process:
Act Quickly
You must be ready to apply the protective sheet and place the printed polyester in the heat press within 30 seconds of withdrawing it from the printer.
Take Your Time
Incorrectly spacing printed fabric risks clipping or distorting designs after pressing. Before lowering the heat element, align it correctly.
Securely Close
Hydraulics will descend the heating plate onto the fabric at a predetermined pressure. Make complete contact with all surfaces.
Hold for 30 seconds
Most polyester textiles completely embed inks after 30 seconds at 400°F and medium pressure. Check the fabric specifications for any time variances.
Set aside to cool and stabilize
When the timer goes off, open the press and remove the textile without touching the hot surface. Allow the fabric to rest until it returns to room temperature before continuing to handle it. Wash, stretch, or stack printed fabrics only after they have totally cooled.
Examine Transferred Print
Examine both sides and edges of the fabric for ink transfer irregularities. Colors should match the original digital file within 90-95% of the time, with appropriate color density across the surface.
Wash from the Inside Out
Once the print has stabilized, carefully wash the completed fabric inside-out in cold water with no detergent or bleach to prevent ink bonds from being compromised. Only air dry.
Optimize Process Parameters
Take note of any uneven ink transfer, bleeding, or other abnormalities that happened. Then, to increase future job quality, fine-tune appropriate actions such as file adjustment, printer profile, or temp/time settings.
Following this comprehensive instruction from beginning to end will prepare you for and help you to create gorgeous, colorful results when sublimating designs on 100% polyester fabrics. Let’s go over the major steps quickly:
Summary of the Polyester Sublimation Process:
1. Choose a proper weight/weave of 100% polyester.
2. Prepare the fabric by washing and pressing it flat.
3. Create an optimized print file for cloth.
4. Load high-release paper into the printer.
5. Before cutting down, check the alignment and color.
6. Cut the fabric equally to the desired finished size.
7. Preheat the press with the protective sheet to 400°F.
8. Transfer printed fabric to hot press as soon as possible.
9. Apply medium pressure for 30 seconds.
10. Allow the fabric to completely settle before finishing.
How To Setting Up Sublimation Printing Business?
With a solid understanding of the procedures described here, you’ll be able to start generating amazing sublimated designs on polyester fabrics right away.
This adaptable approach allows for an infinite variety of bespoke soft items, only limited by your imagination.
So follow these simple guidelines to unlock the vivid potential of polyester sublimation. Continue to push the limits of what is possible.
If you have any more queries about methods or techniques, please come back to these recommendations or contact us. Wherever possible, our skilled fabric printers will provide additional clarification or advise.
So, feel free to sublimate colorful, attractive patterns that leave a lasting impact and set you apart from the crowd.


10 Comments